Notes on taking Production Metadata and releasing as an unlocked Package via GitLab (Part 5)
The first 4 Parts of this mini-series have concentrated on how unlocked packages can be deployed to production.
At a high level the steps are:
Part 1 covered the stages up to the GitLab integration, Part 2 got GitLab working and the deployment to a scratch org. Part 3 set a deployment to a sandbox (e.g a UAT sandbox) and then Part 4 deploys to production.
- Create a sfdx project
- Pull down metadata from production
- Create scratch org from new metadata
- Create GitLab integration
- Push unocked package to production via UAT sandbox
At this point you should have a fully functioning deployment to production based on pushing changes to GitLab. All these changes are into the ‘master’ branch which is how we set up the implmentation. However doing this ignores the use of branches of development and the need to preserve the master branch as only the the final code for releasing (so features are developed outside of the master branch and then merged back in).
So the current situation will have vs code looking at Master and only Master on GitLab:


GitLab has a few ways to carry out the process of creating a branch, doing development and merging back into the master branch. This post will look at the idea of creating an issue for the development.
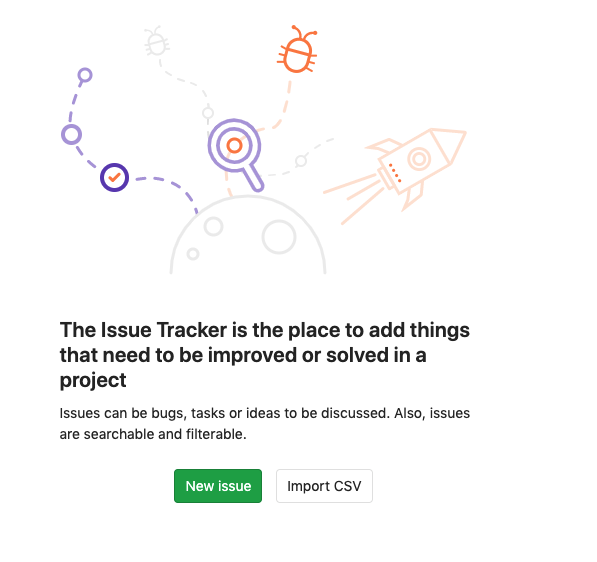
From the main Gitlab project page, click Issues and then the ‘New Issue’ button
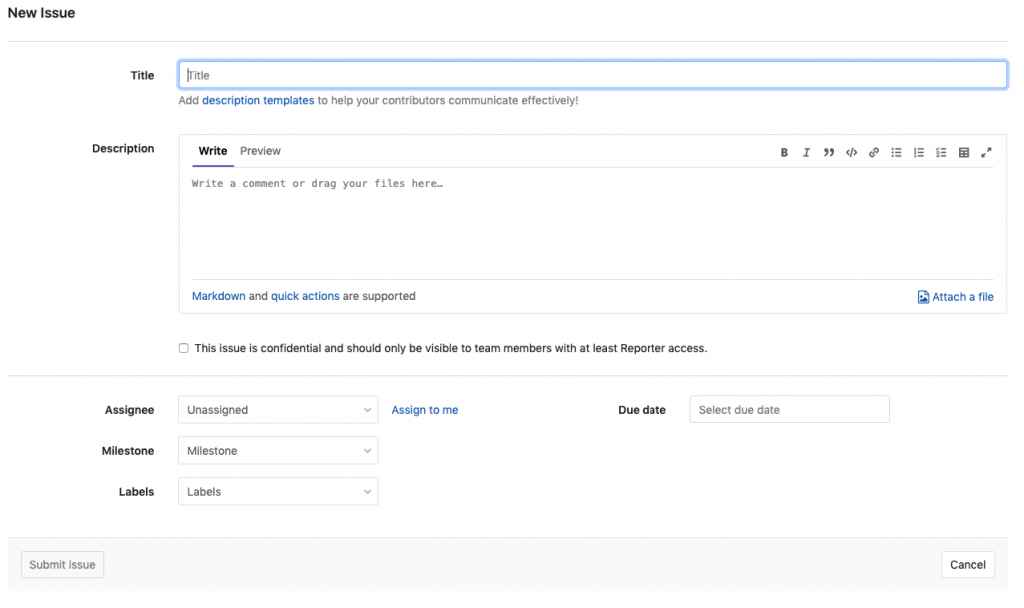
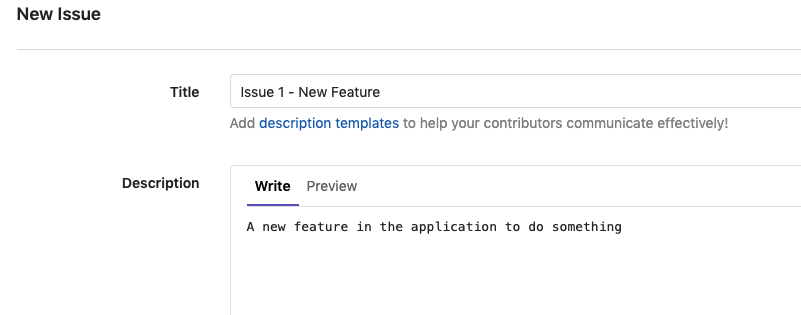
The enter the details of the issue on the next screen. Perhaps add the title as ‘Issue 1 – New Feature’ and a short description:
As an example (The assignee can be set)
This will create a new issue. The workflow for Gitlab is slightly different in that the Create Merge Request is carried out at the start of the process. Clicking the ‘Create Merge Request’ will set up a new branch and also prime GitLab to merge the code into master when everything is ready. It is useful to conisder a general stratgey for the size of the development (a solo developer might only create an issue at a time and then merge into master and repeat).
Before the ‘Create Merge Request’ has been clicked:
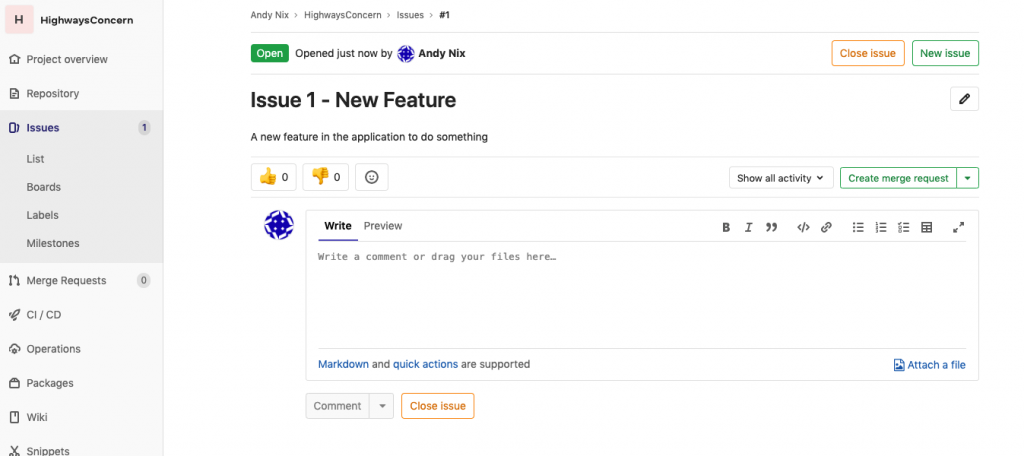
and after:
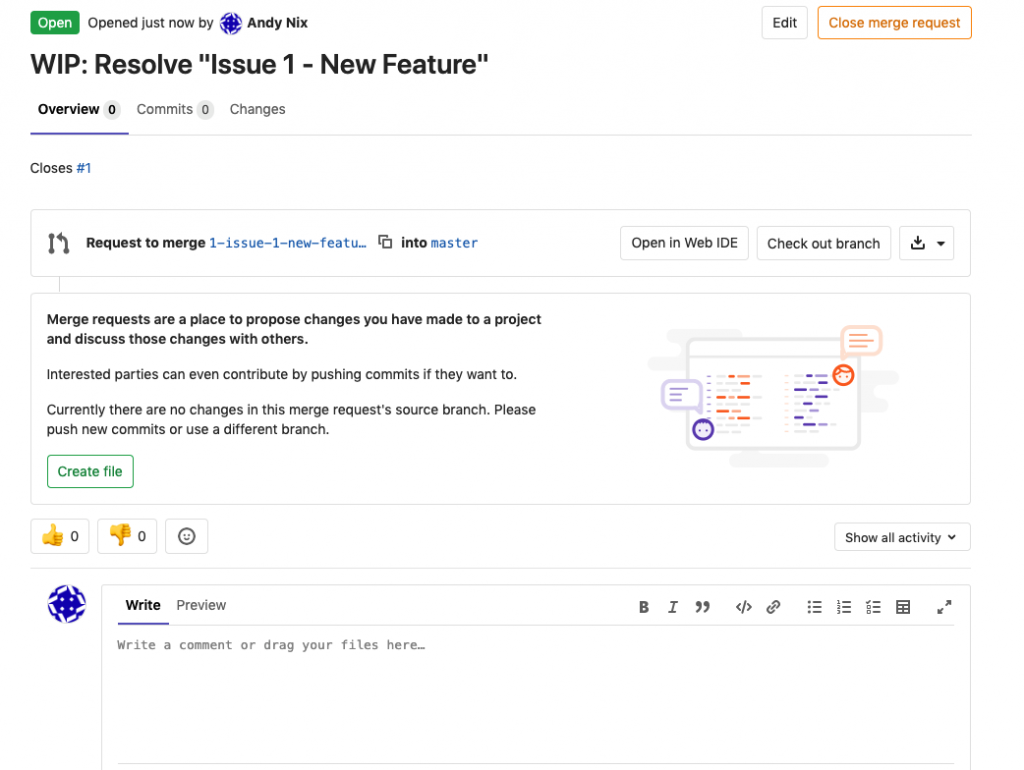
There is now a new branch called 1-issue-1-new-feature and the side menu will show the open issues and also merge requests and these are linked (closing the merge request will close the issue).
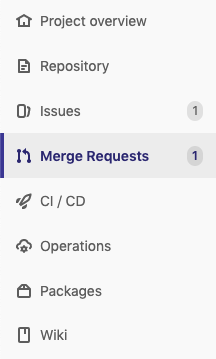
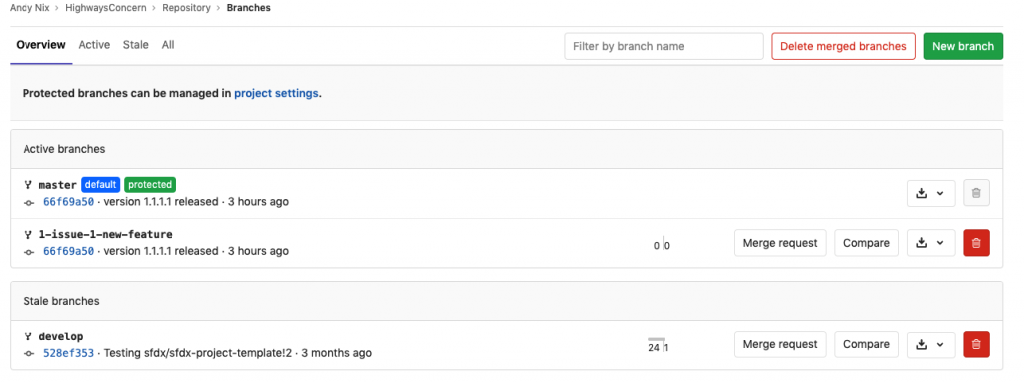
However our local vs code is still pointing at the master branch and we need to point it at the new branch so that any commit’s go to the new branch and not the master.
I use the extension Git Graph (https://marketplace.visualstudio.com/items?itemName=mhutchie.git-graph) to help visually see what how the branches are working. On the Git Graph tab, click the cloud icon to Fetch From Remote. This will ensure that the local vscode is aware of the new remote branch.

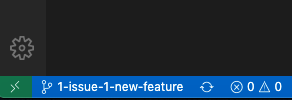
Now when the ‘master’ branch is selected in the lower left corner:

the new branch will appear to checkout:
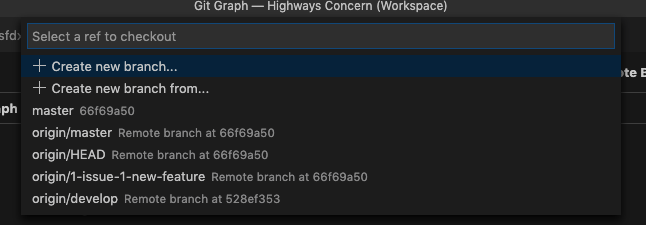
When the 1-issue-1-new-feature is selected vcode will now change to point to this new branch.
As a new feature is being cretaed with end game of delopying to production it is probably good practice to change the sfdx-project.json version.
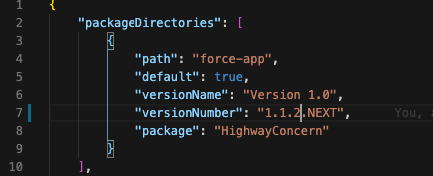
This will avoid the pitfall of not being able to deploy to production with duplicate release numbers (see Part 4).
Now doing a commit will deploy the changes to the new branch (described in Part 2 – but from the Source Control tabe, enter a description of the changes and then a Cmd+Enter to commit and then press the push icon on the toolbar at the bottom of the screen. Refreshing the branch page will now show the new branch and the checksum being different for the new branch:
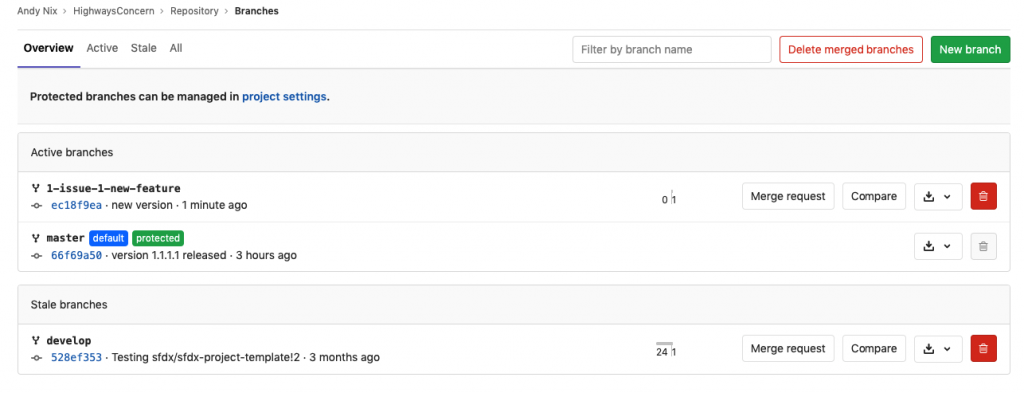
The template provided by Salesforce does not have any pipelines for the non-master branches – so there are no scratch orgs, or options for sandbox delpyment or even production deployment.
After the development on the issue has been completed (perhaps with multiple commits to the branch). We need to merge this code back into the master. From the main screen click the ‘Merge Results’

Click on the specific Merge Request will show the full detail
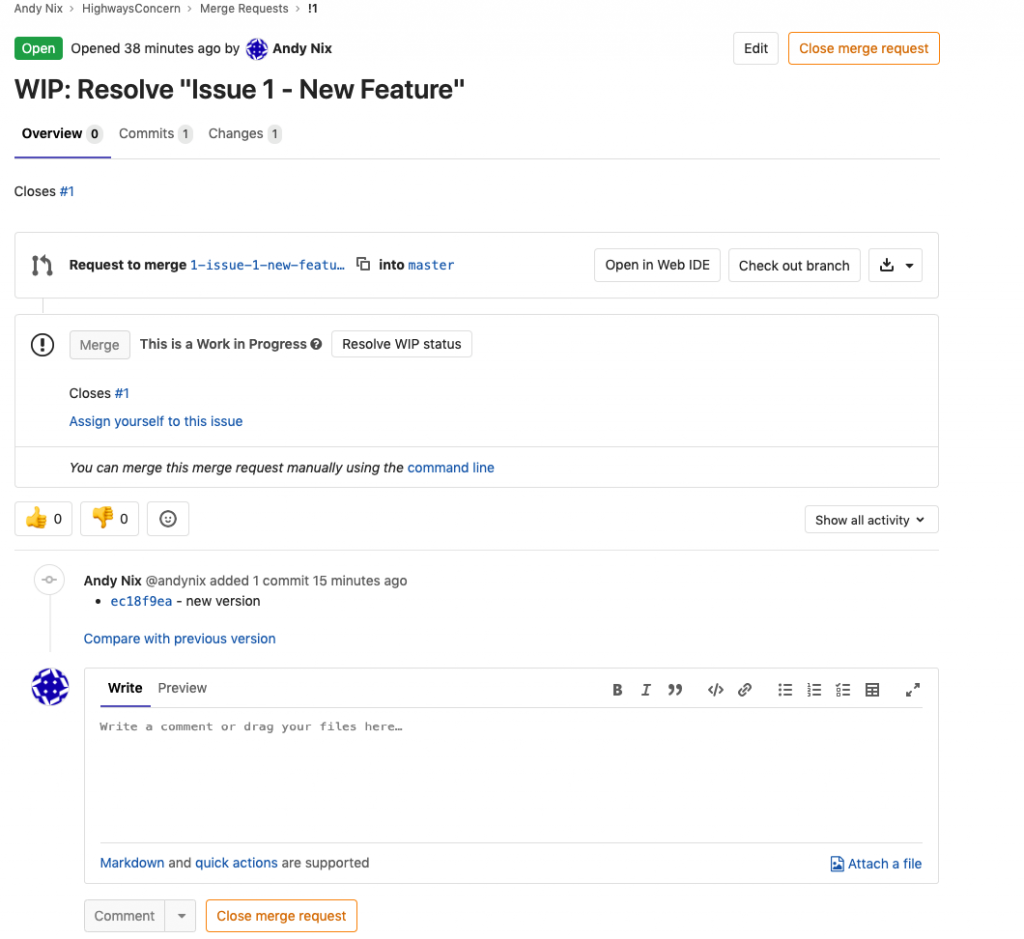
There is a useful safety feature in that Merge Requests are marked as Work In Progress (WIP) and merge requests cannot accidentally be merged back into master unless the ‘Resolve WIP status’ is clicked.
Now a comment can be made then click the ‘Comment’ button to provide some completing description. The click the ‘Merge’ button. This will do three things:
- Merge the branch back into the master branch
- Close the issue that started the process
- Delete the branch
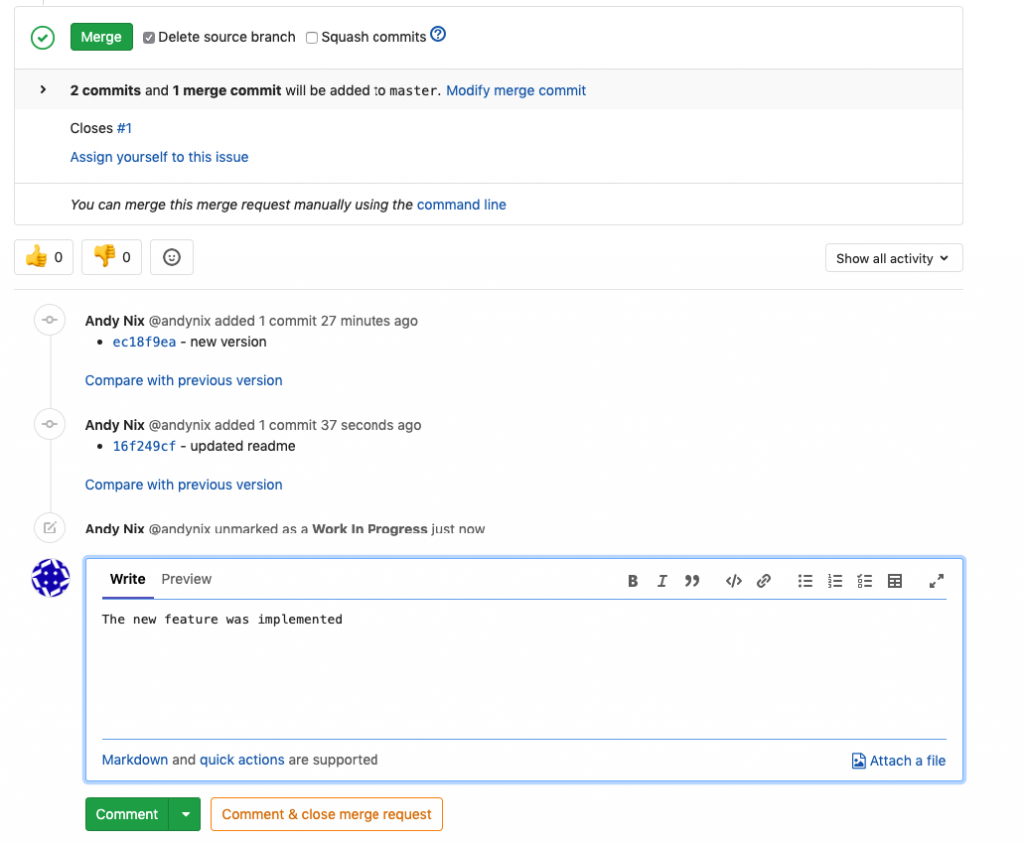
Our issue is closed

And the merge is closed

Finally on our master branch we should have the new code merged and then a pipeline will commence as usual.
The only additional step is that our local vscode is still pointing at the now deleted branch. In vs code and on the git graph tab, click the cloud icon to refresh from GitLab and you will see the graph showing the branch created and merged:

Click on the branch in the corner of the screen

Select origin/master from the options
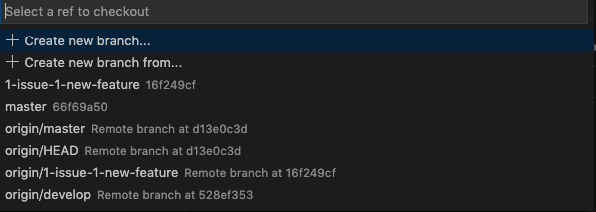
And finally to sync from the remote GitLab to our local vscode, click the syncronise button (here shown with 3 changes to pull down).
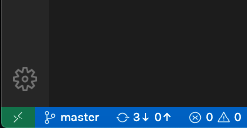
This returns us to where we started, one master branch and our local vscode pointing at master. This means we can simply repeat that loop for the next issue.
