Filepond in a Lightning Web Component for Salesforce upload – Part 2
This short series of posts will be a how-to on setting up an enhanced upload component for Salesforce. This could be used both on a Salesforce record page or indeed in a community. Part 1 got the scratch org setup, the library loaded as a resource and now we will start to setup a Lightning Web Component to do what we need.
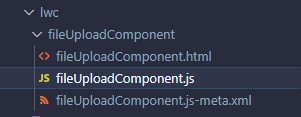
So in our Visual Studio Code, lets create a new lwc called fileUploadComponent

Lets start in our fileUploadComponent.html and add:
<template>
<div class="createFilePond" lwc:dom="manual"></div>
</template>
This is going to give us a div element where we can put our component. By adding lwc:dom=”manual” we are saying to the lwc engine that we will take care of rendering this element.
Lets do the basics for the fileUplaodComponent.js-meta.xml
<?xml version="1.0" encoding="UTF-8"?><LightningComponentBundle xmlns="http://soap.sforce.com/2006/04/metadata">
    <apiVersion>54.0</apiVersion>
    <isExposed>true</isExposed>
        <targets>
        <target>lightning__RecordPage</target>
    </targets>
</LightningComponentBundle>
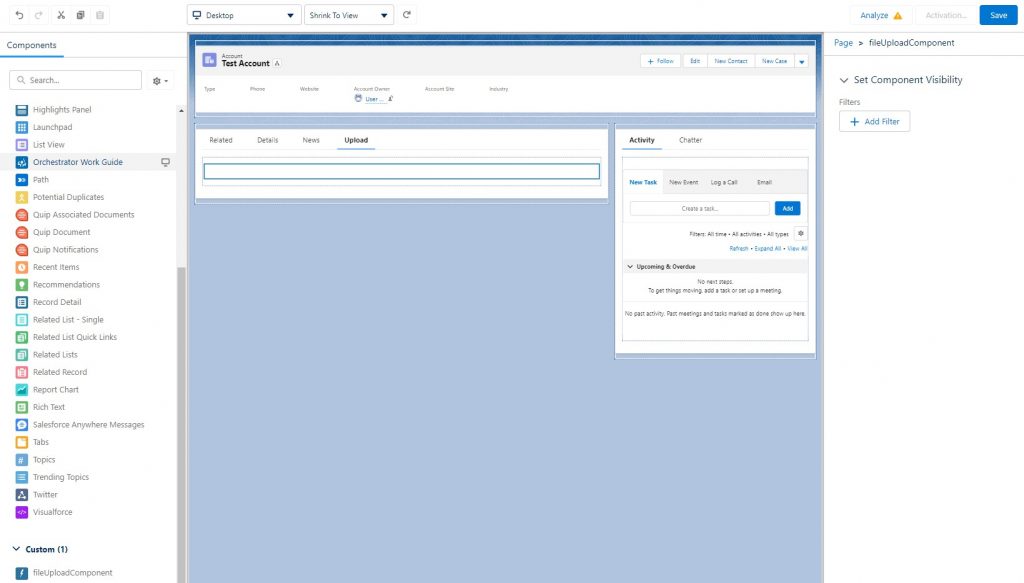
This is standard stuff and exposes the element to record pages. Lets push this to our scratch org and then in the scratch org open say an Accounts page and then we can add this component to the page. I have create a tab called ‘Upload’ and added the fileUploadComponent component into the page.

Now we can get to the main part of the code back in our fileUploadComponent.js
Let’s break this down into stages, the first stage being to bring our filepond javascript library into our file and then initialised.
So the first stage is to add the resource to the import
import filepond from "@salesforce/resourceUrl/Filepond";
We also need to bring in the ability to load Scripts (js files) and load Styles (css files) so
import { loadStyle, loadScript } from "lightning/platformResourceLoader"; We will use toast messages to show any problems in loading the component
import { ShowToastEvent } from "lightning/platformShowToastEvent"; In our main body of code we will have a variable that will tell us if we have initialised the library
filepondInitialized = false;And then we can use the renderedCallback to load the library
  renderedCallback() {
    if (this.filepondInitialized) {
      return;
    }
    this.filepondInitialized = true;

    Promise.all([
      loadScript(this, filepond + "/filepond.min.js"),
      loadScript(this, filepond + "/filepond-plugin-image-preview.min.js"),
      loadScript(this, filepond + "/filepond-plugin-file-validate-size.min.js"),
      loadStyle(this, filepond + "/filepond.min.css"),
      loadStyle(this, filepond + "/filepond-plugin-image-preview.min.css")
    ])
      .then(() => {
        this.initialiseFilePond();
      })
      .catch((error) => {
        this.dispatchEvent(
          new ShowToastEvent({
            title: "Error loading filepond",
            message: error.message,
            variant: "error"
          })
        );
      });
  }

 initialiseFilePond() {
    console.log('initialiseFilePond');
 }
We have used a console.log message to show the component is loaded and ready. Push this code to your scratch org and refresh the page with the component, open the developer tools and there should be a message.
The current code looks like this:
import { LightningElement } from 'lwc';
import filepond from "@salesforce/resourceUrl/Filepond";
import { loadStyle, loadScript } from "lightning/platformResourceLoader";
import { ShowToastEvent } from "lightning/platformShowToastEvent";

export default class FileUploadComponent extends LightningElement {
filepondInitialized=false;

renderedCallback() {
    if (this.filepondInitialized) {
      return;
    }

    this.filepondInitialized=true;

    Promise.all([      loadScript(this, filepond+ "/filepond.min.js"),
      loadScript(this, filepond+ "/filepond-plugin-image-preview.min.js"),
      loadScript(this, filepond+ "/filepond-plugin-file-validate-size.min.js"),
      loadStyle(this, filepond+ "/filepond.min.css"),
      loadStyle(this, filepond+ "/filepond-plugin-image-preview.min.css")
    ])
      .then(() => {
        this.initialiseFilePond();
      })
      .catch((error) => {
        this.dispatchEvent(
          new ShowToastEvent({
            title: "Error loading filepond",
            message: error.message,
            variant: "error"
          })
        );
      });
  }

 initialiseFilePond() {
        console.log('initialiseFilePond');
}

}
Most of our work will be in the initialiseFilePond, so lets start slowly and build up. Firstly we will identify our manual div and then create a FilePond object that we will use.
 initialiseFilePond() {

       const divElement = this.template.querySelector("div.createFilePond");

       const pond = FilePond.create({
              name: "myfilepond"
       });

       divElement.appendChild(pond.element);
 }
These 3 lines bring together everything that we have setup in Part 1. The first line finds the div with the class of createFilePond and the second line creates the FilePond instance. The FilePond object is uploaded for us to use as part of the library, see the documentation for the create function at https://pqina.nl/filepond/docs/api/exports/#create. If we push this to our org and refresh we should get something like this:

indeed you can sort of upload files:

The Filepond component goes along way to setting everything up for you to customise and takes care of all the rendering. Let’s add in a preview and also some settings. Filepond uses a set of plugins to help the component and these need to be registered before they are used. So if we add this code:
       FilePond.registerPlugin(
              FilePondPluginImagePreview,
              FilePondPluginFileValidateSize
       );

       const pond = FilePond.create({
              name: "myfilepond",
              allowRemove: false,
              allowRevert: false,
              allowImagePreview: true,
              imageResizeTargetWidth: 100,
              imageResizeTargetHeight: 100,
              maxFiles: 10,
              maxFileSize: "3MB",
              allowMultiple: true
       });
This will provide a preview image when image files are uploaded

As well as preventing large documents being uploaded (we are setting a maximum file size of 3Mb which is a limit later on with our actual apex code.

We nearly have this all working, apart from it does not actually upload. Let’s do this in the next post.
