Filepond in a Lightning Web Component for Salesforce upload – Part 1
This short series of posts will be a how-to on setting up an enhanced upload component for Salesforce. This could be used both on a Salesforce record page or indeed in a community.
Filepond is an open source javascript library for uploading – there is great documentation and the end user experience is good. See https://pqina.nl/filepond/ for more details. The github repository is at https://github.com/pqina/filepond/ and documentation at https://pqina.nl/filepond/docs/. There are a series of plugins to improve the system (although some will not work due to the Locker service). We will do everything in a scratch org and build things up so that you can use this as an approach for other javascript libraries (but be aware of limitations of Locker service).
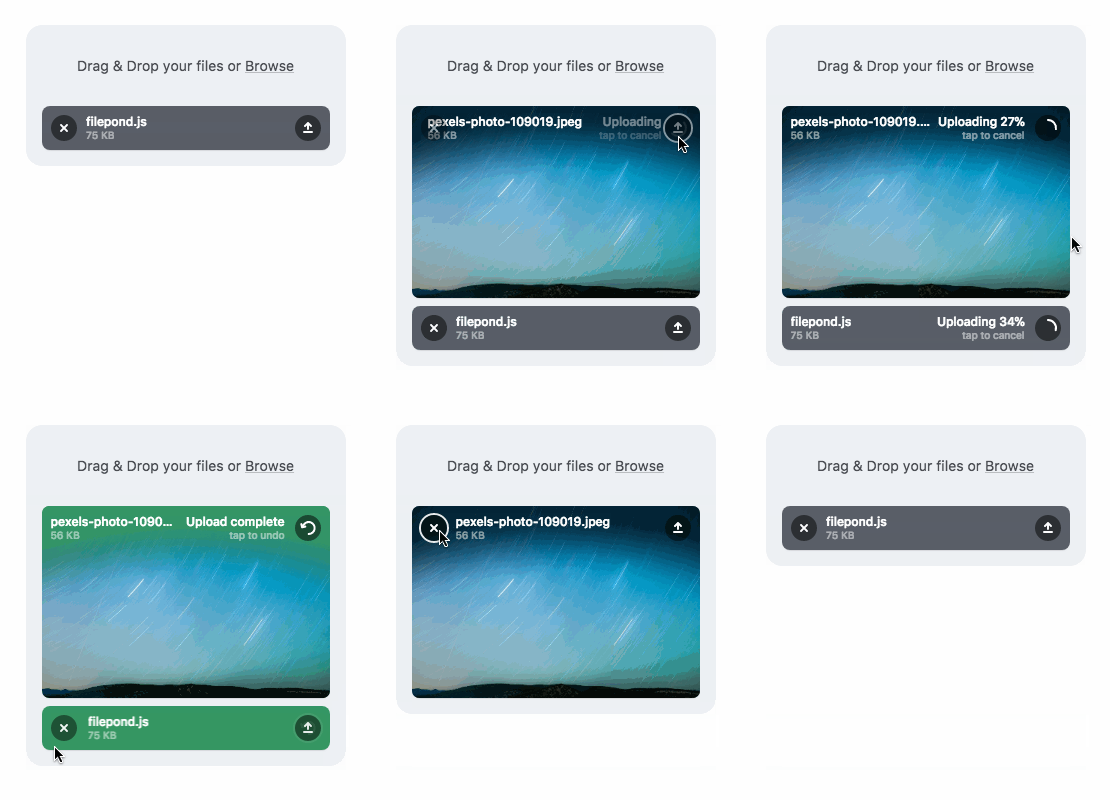
Here is a demo of the javascript component – although our implementation will look a bit different :

The main steps will be:
- Set up a scratch org and do the initial load of the filepond library
- Check that the library is loading and starting to work
- Set up the component
Let’s set up a new scratch org to get going, so the code below will create a project in a new filepond directory, we can then open Visual Studio Code and then create a Salesforce scratch org called FilePondScratch :
sfdx force:project:create –-projectname Filepond
cd Filepond
code .
sfdx force:org:create --setdefaultusername --setalias FilePondScratch --definitionfile config/project-scratch-def.json -d 5 -s
You can now open the blank scratch org from within the bottom toolbar of Visual Studio code or by sfdx force:org:open
In order to use a javascript we upload the files we need as a static resource in Salesforce and then load them into our component, for more information visit https://help.salesforce.com/s/articleView?id=sf.pages_static_resources.htm&type=5. These static resources are uploaded as a zip file and then we reference the files we need from the zip. So the next step is to get all of our javascript files downloaded, zipped and then uploaded.
The files we need are located at:
- https://github.com/pqina/filepond/blob/master/dist/filepond.min.js
- https://github.com/pqina/filepond/blob/master/dist/filepond.min.css
- https://github.com/pqina/filepond-plugin-image-preview/blob/master/dist/filepond-plugin-image-preview.min.js
- https://github.com/pqina/filepond-plugin-image-preview/blob/master/dist/filepond-plugin-image-preview.min.css
- https://github.com/pqina/filepond-plugin-file-validate-size/blob/master/dist/filepond-plugin-file-validate-size.min.js
Download these 5 files and create a file called filepond.zip
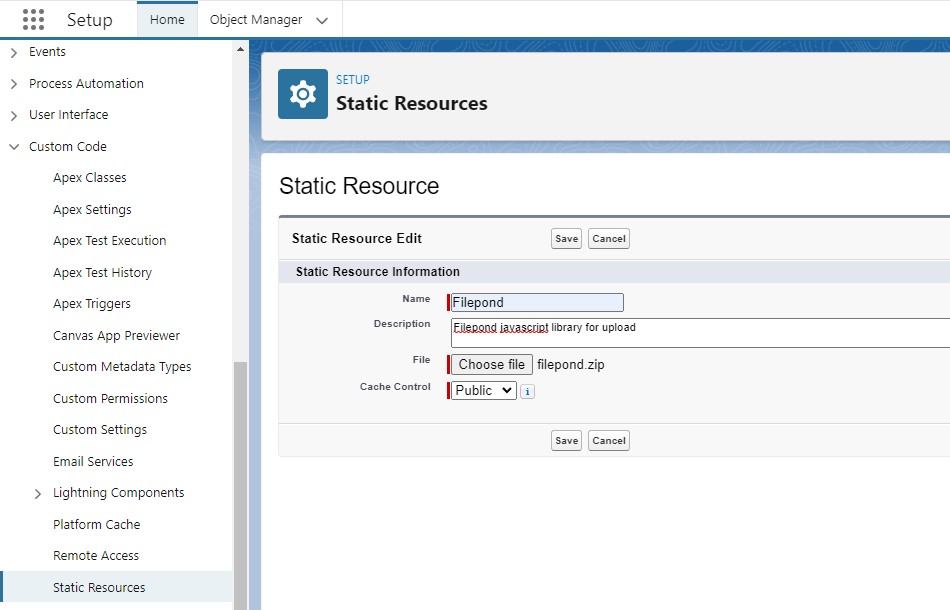
From the Salesforce setup menu, search for ‘Static Resources’ and then upload your zipped file using the name filepond. Use Public cache control if you want to have the resources available in things like community sites.

From within Visual Studio code do a sfdx force:source:pull to pull the static resource back to your local development (of course you could push from the local development to the org, but this method is a bit easier).
Check your visual studio environment to make sure that you have the files you need and uploaded:

In the next post we will get a LWC up and running and start using these resources we have uploaded.


