Notes on taking Production Metadata and releasing as an unlocked Package via GitLab (Part 2)
At a high level the steps are:
- Create a sfdx project
- Pull down metadata from production
- Create scratch org from new metadata
- Create GitLab integration
- Push unocked package to production via UAT sandbox
Part 1 covered the stages up to the GitLab integration.
Set up a new account on GitLab (either using your Salesforce login or separate username and password).
At this link https://gitlab.com/sfdx there are the maintained project templates all ready to go. Sfdx-project-tempate is the place to start (although it does have some HelloWorld components that are not needed).
Follow the following steps of the readme.md in the project (https://gitlab.com/sfdx/sfdx-project-template)
- Part 1 – Importing Project Templates
- Step 1, register on GitLab
- Step 2, Create New Project
- Step 3, Import the project by the URL provided (use https://gitlab.com/sfdx/sfdx-project-template.git)
- Step 4, Create the project (change the project slug to also be the name of the project)
At this stage we have a template project in GitLab and a local project with our source code working to our scratch org. These need combining and under source control. This is the next task. The approach will be to clone the GitLab project down to the local machine and then copy the source code across to the folder.
We don’t really want anything building and so we can set the CI/CD settings to prevent builds as we copy content across and also set up the other environment variables.
TEST_DISABLED = true
SCRATCH_DISABLED = true
SANDBOX_DISABLED = true
PRODUCTION_DISABLED = true
Open the project in GitLab and then click on the Clone button and copy the clone with HTTPS e.g. https://gitlab.com/andynix/highways-concern.git

Now we can pull down the repository to a new folder (not the folder we used in Part 1 – we want to manually copy the files across).
git clone https://gitlab.com/andynix/highways-concern.git highwaysOpen the new folder in vscode
To start we will remove the helloworld test components and do a commit to confirm that all is working with Gitlab. In the vscode remove the files from the directories below (the two default directories can be deleted by right clicking):
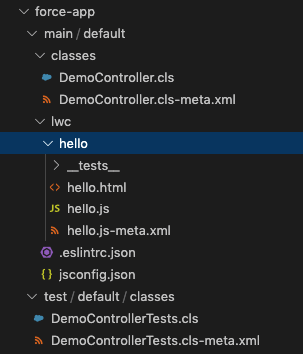
Click the Git icon and the enter text (for instance ‘initial clean’) in the commit window and then press cmd + return (to commit these changes) and then press the sync icon at the bottom of the screen.
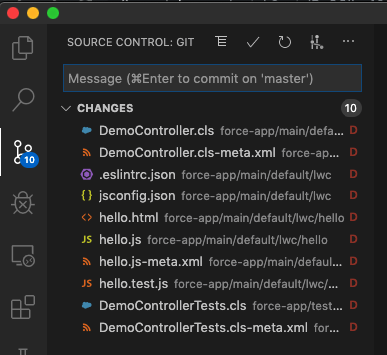

Return to gitlab.com and check that your removals have been reflected in the master branch.
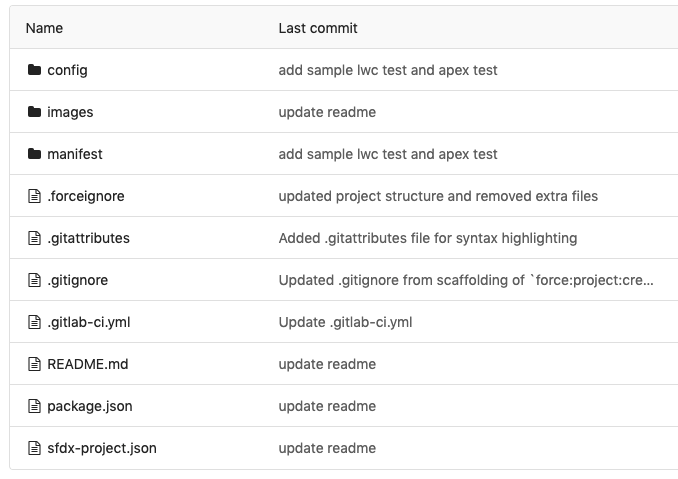
When the commit is made it is likely the pipelines will commence .
Now copy the default folder across from the vscode project in part 1 across to this new project. We can also point this project at our scracth org, by clicking on the org setting on the lower toolbar and then selecting the scratch org created in part 1.

In the Git area there will be al the files that you need to commit back to GitLab:
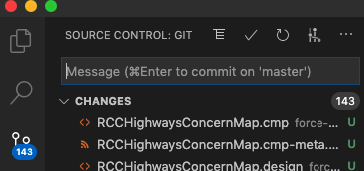
Again enter a messgage and the cmd + Return and then the sync button to commit and sync to GitLab. Swap back to Gitlab to check all is ok.
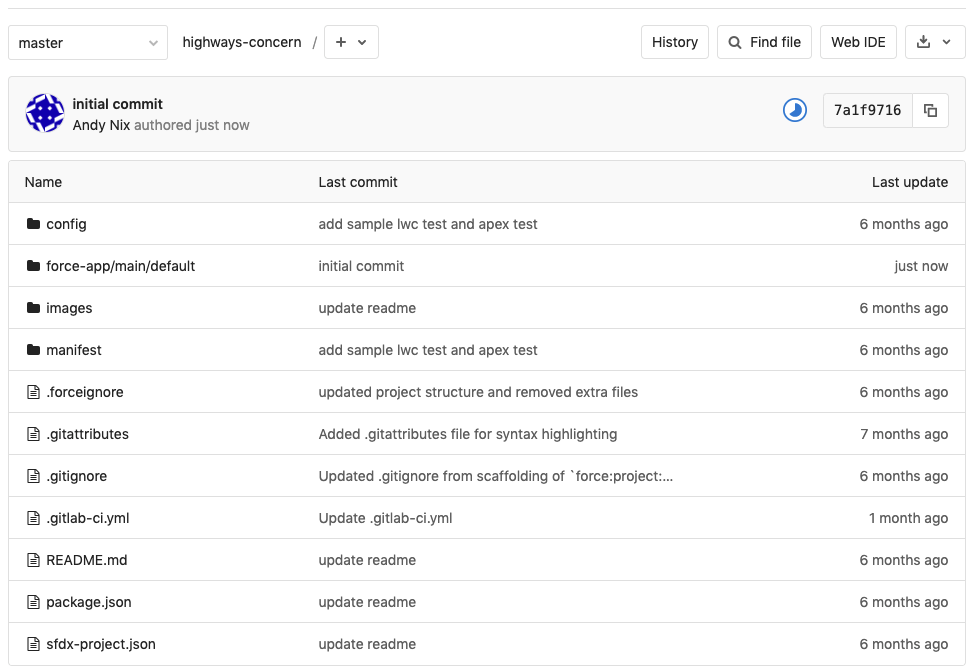
It is worth a push of the source just to check that all is still ok at this point.
sfdx force:source:pushWith the environment varaible set above the salesforce template will jump straight to creating a package.
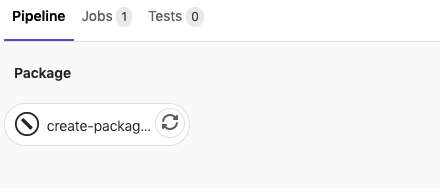
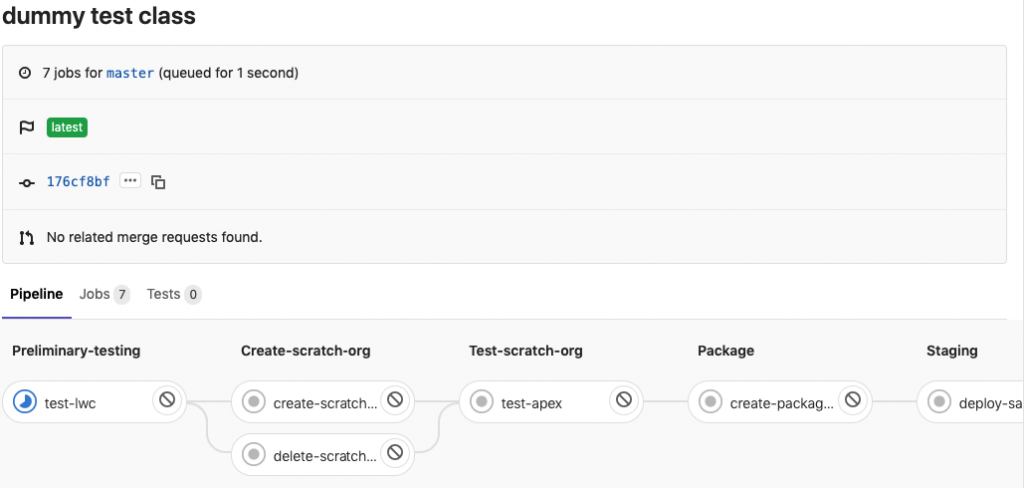
The image below show a more typical pipeline. We will enable these one by one shortly.
However before this starts we need to create a new unlocked package that will be used in our deployment and get the environment variable set for the DevHub that is being used. The code needed for this is (see Part 3 of the sfdx project template https://gitlab.com/sfdx/sfdx-project-template):
sfdx force:org:list
sfdx force:org:display --targetusername <username> --verbose
The first command is useful to list of the the org and to check what the DevHub is. Run this force:org:display against the DevHub and then copy the resulting ‘Sfdx Auth Url’ value starting force://
In GitLab, Settings CI/CD and variables enter the variable DEVHUB_AUTH_URL as the key and then the sfdx auth Url copied from the force:org:display. Click Save Variables.
We create the unlocked package in our local envrionment, but the command runs against the DevHub and so keeps the record of packages and versions (so this will allow the GitLabs to see the packages). The sfdx-project.json file has a default package name of GitLabPipeLinesPkg. This line can be deleted and saved. Now run the following, inserting your NameOfPackage and also DevHub alias if different :
sfdx force:package:create --name NameOfPackage --packagetype Unlocked --path force-app --targetdevhubusername DevHub
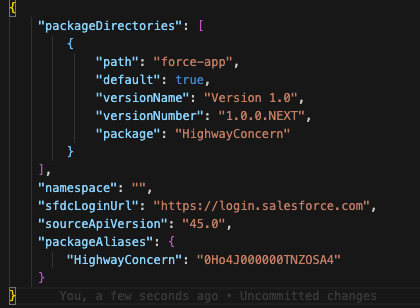
The sfdx-project.josn will be updated with a package alias which has an Id starting 0Ho4. The Salesforce provided script will read the package name but this can be entered in the envrionmental variables as PACKAGE_NAME.
The next stage is to add back in the different stages to see if there are problems. Firstly remove the SCRATCH_DISABLED so that the scratch org is created (this will test access to the DevHub). Click the – icon to the right of the variable.
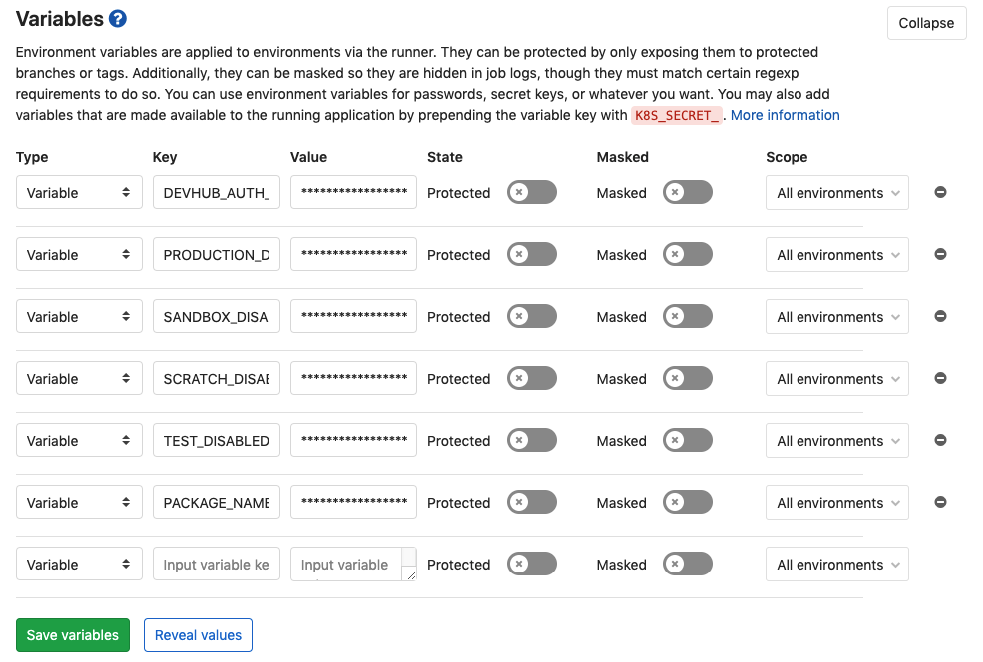
As the sfdx-project.json will have changed this can be pushed to GitLab with the usual – click the source control icon, enter some description, cmd+return and then sync. In GitLab click the file and the running pipeline to see:
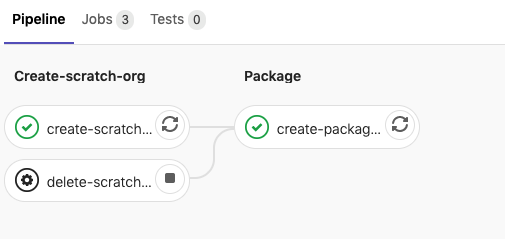
The script automatically creates a new package and the history of package version can be provided by the following code (add –verbose for additional information) :
sfdx force:package:version:list --packages HighwayConcernThe scratch org that is created in this step is designed to be opened and tested. Steps can create artifacts and this is used to open the scratch org, click the ‘create-scratch-org’ in the link above and then.
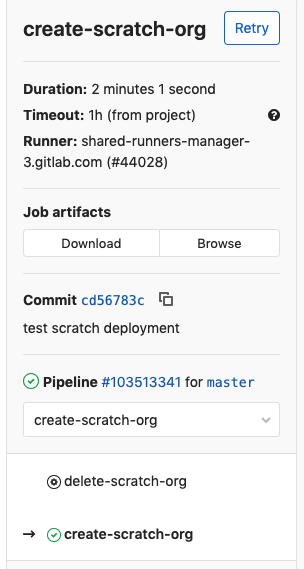
Click on browse and the on the next screen click the ENVIRONMENT.html

