Gitlab and VSCode – Part 1 New Project from GitLab
This short tutorial series will provide a how to on creating a GitLab project and then getting this linked to VSCode. The prerequisites include:
- A GitLab account
- Git installed locally and the normal setup completed (not least setting up the global name and email settings)
- VSCode installed
- GitGraph installed
From the main GitLab click Projects and the New Project button and then Create Blank Project:
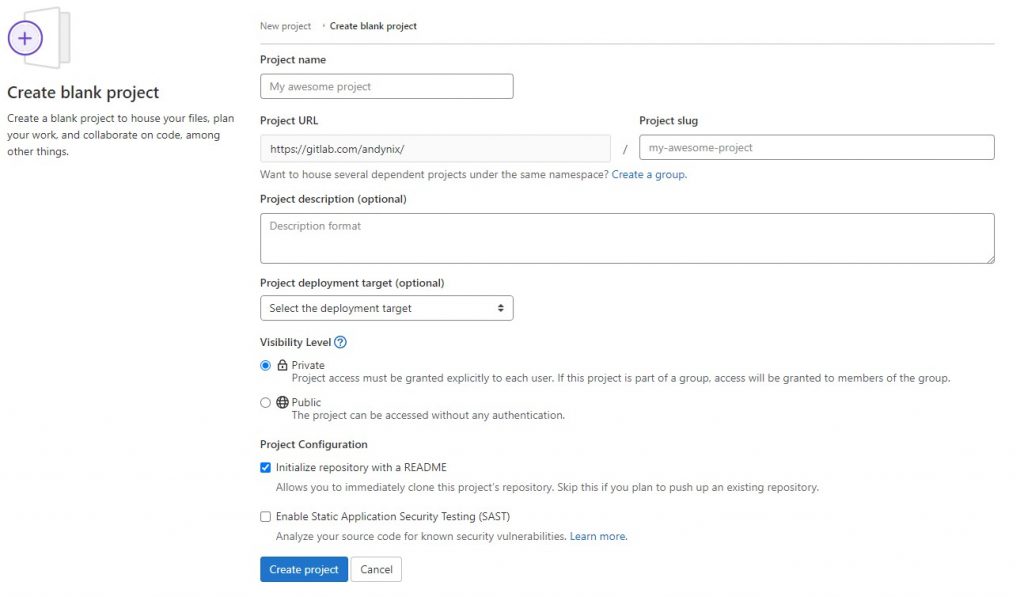
Enter a project name eg. MyTestProject after clicking Create Project then you are at your repository:
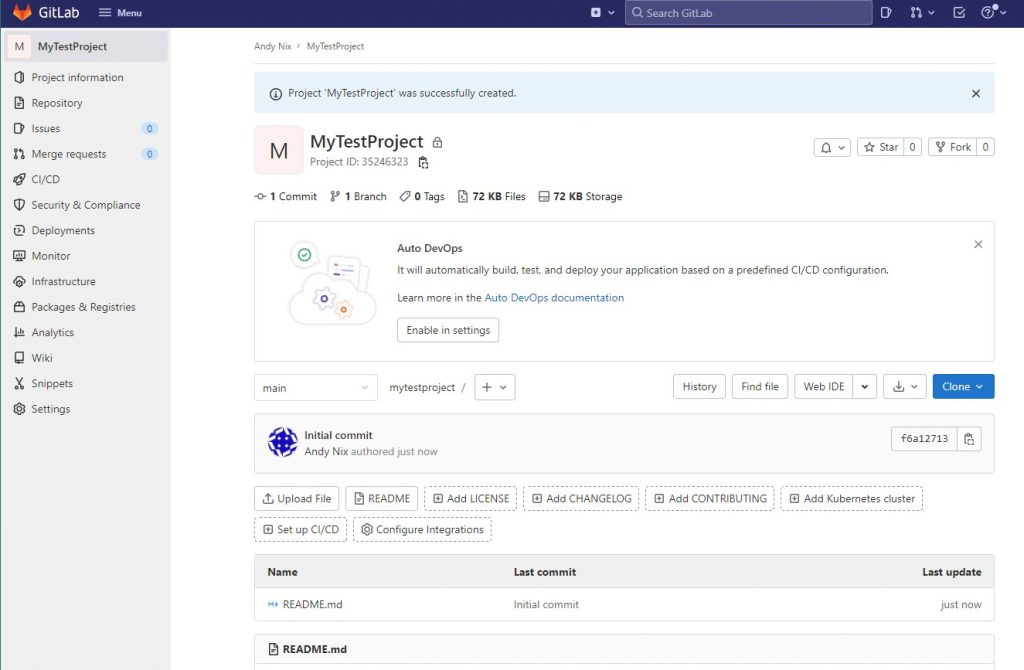
For those not new to Git one tip to follow is the commit reference to the Initial Commit, shown in this example as f6a12713, this can be useful to check what commit you are at and pointing to.
So the next task is to get the project downloaded and linked to Gitlab. Open up your command prompt and move to the directory where you will download the project to (when downloading a new folder will be create with the name of the project. You will need the URL of the project, so click the clone button and copy the HTTPS link:
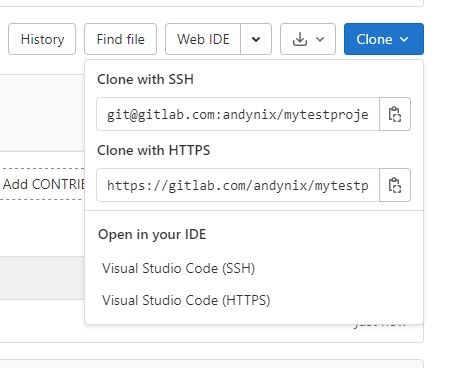
From the command prompt enter:
git clone URL_of_Project

cd Name_of_Folder

code .

You will then vscode opened with your basic project (with a readme.md file).
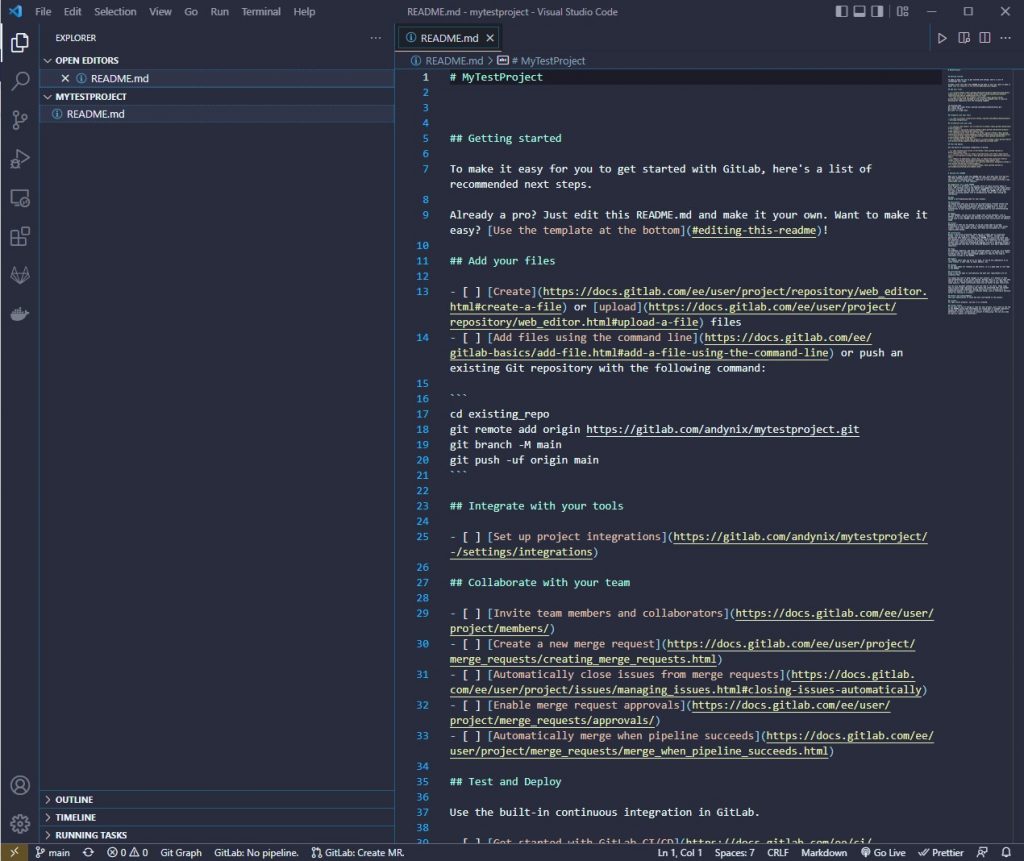
At the bottom of the screen you will see information (and any additional extensions you may have)

If you have the GitGraph extension installed then click Gitgraph from the bottom of the screen and you will see a simple graph of our repository and you will also see the Git hash which we previously saw on GitLab.

Lets create a new file and then make sure that we can push this to our GitLab repository. Click the new file icon

Create a new file called newLocalFile.md and add some text to the file and save the file
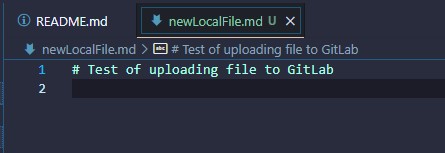
We now have a file that is local to our environment but GitLab has not got this file. So we need to push our changes. From the Git menu we can see that there are some changes that are staged and waiting to be committed to our online repository.
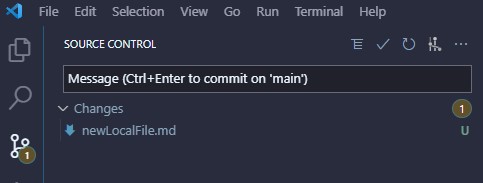
Enter some text such as ‘new local file’ and then press Ctrl+Enter. This will then show that there is 1 file to sync.

Then back on GitLab you will see your local file uploaded and the commit message
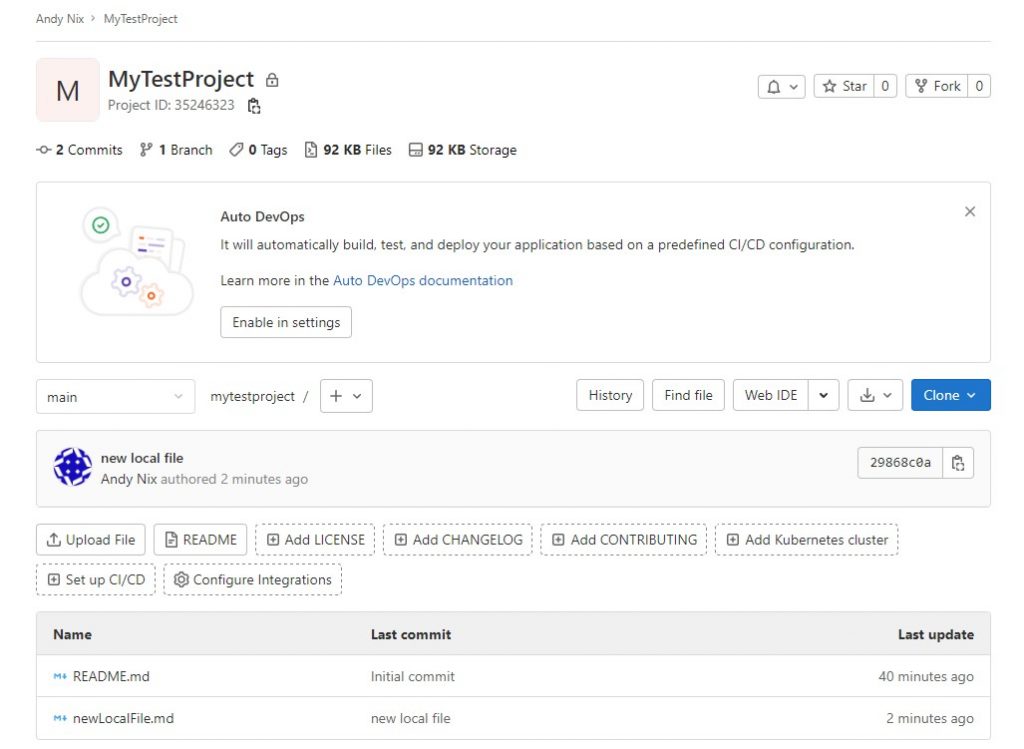
Then gitgraph in vscode will show the updated commit reference

This is the basis for the main workflow:
- Make changes to your local files
- Enter a commit message and commit changes
- Click the sync button to push these changes to the remote repository

